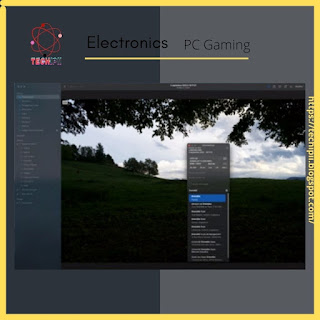
Mac photo software
If you don't have any photos on your Mac, we strongly recommend that you catalog all your photos with this app, since it's the default app.
Today, photo allows cataloging which is quite powerful all the same and above all perhaps improved with many extensions such as:
- Pixelmator pro.
- Luminar AI.
- Affinity.
What they have really done is a professional tool when all extensions are added.
In the meantime, today I'm going to show you a very simple trick. If you don't have a smartphone, chances are your photos won't be geotagged because DSLR cameras don't have GPS chips, you have to do it by hand.
Discover this article
Tip to geotag photos on the mac pc
It's very easy. Double-click on the photo and press Commands + (i) to get a small information panel.
Either right click: read the information, add the location, then you will enter your location, for example: write you New York and it takes you to the city center, and by leaving your mouse pressed on the pinned you will be able to move it where you want, really it was taken in a particular area and you can of course zoom in on the map, then you close this little window, we will check that it worked well, If you right click and read the information, my photos are indeed correctly placed geographically.
Obviously, you don't have to do this manually for each photo.
- Hold down the shift key.
- Select multiple photos.
- Right-click (read information).
As you can see, you'll assign a name, title, caption, keywords, and location to all of these photos at once.
For example, if you put new York or your city again, for this to work obviously you need an internet connection for your Mac to connect to the map, and then press enters to validate your location and to see your position.
Then make sure that your photos are correctly placed geographically and that you can find them thanks to the location function in the photos sidebar.
Read also
- Software: The 4 best photo editing apps for smartphones 2022
- The 3 Best Photo Editing Software for Photographers
So much for the little photo tip of the day, If you have any questions, don't hesitate to ask them in the comments.
I say see you soon for the next photo tips on the techipii blog.


Comments
Post a Comment